Account Management Process

Managing your account on Simply Cue is simple and seamless. This guide walks you through the essential steps to oversee your products, track sales and update your personal settings efficiently.
Step 1 : Log In to Your Dashboard
Begin by visiting simplycue.com and logging in with your credentials. After you have logged in successfully, you will be redirected to your account dashboard, the central hub for all your activities.

Step 2 : Navigate to the Product Section
From the dashboard, head over to the Product section using the left navigation menu. Here you can manage all your existing products or start creating new ones.
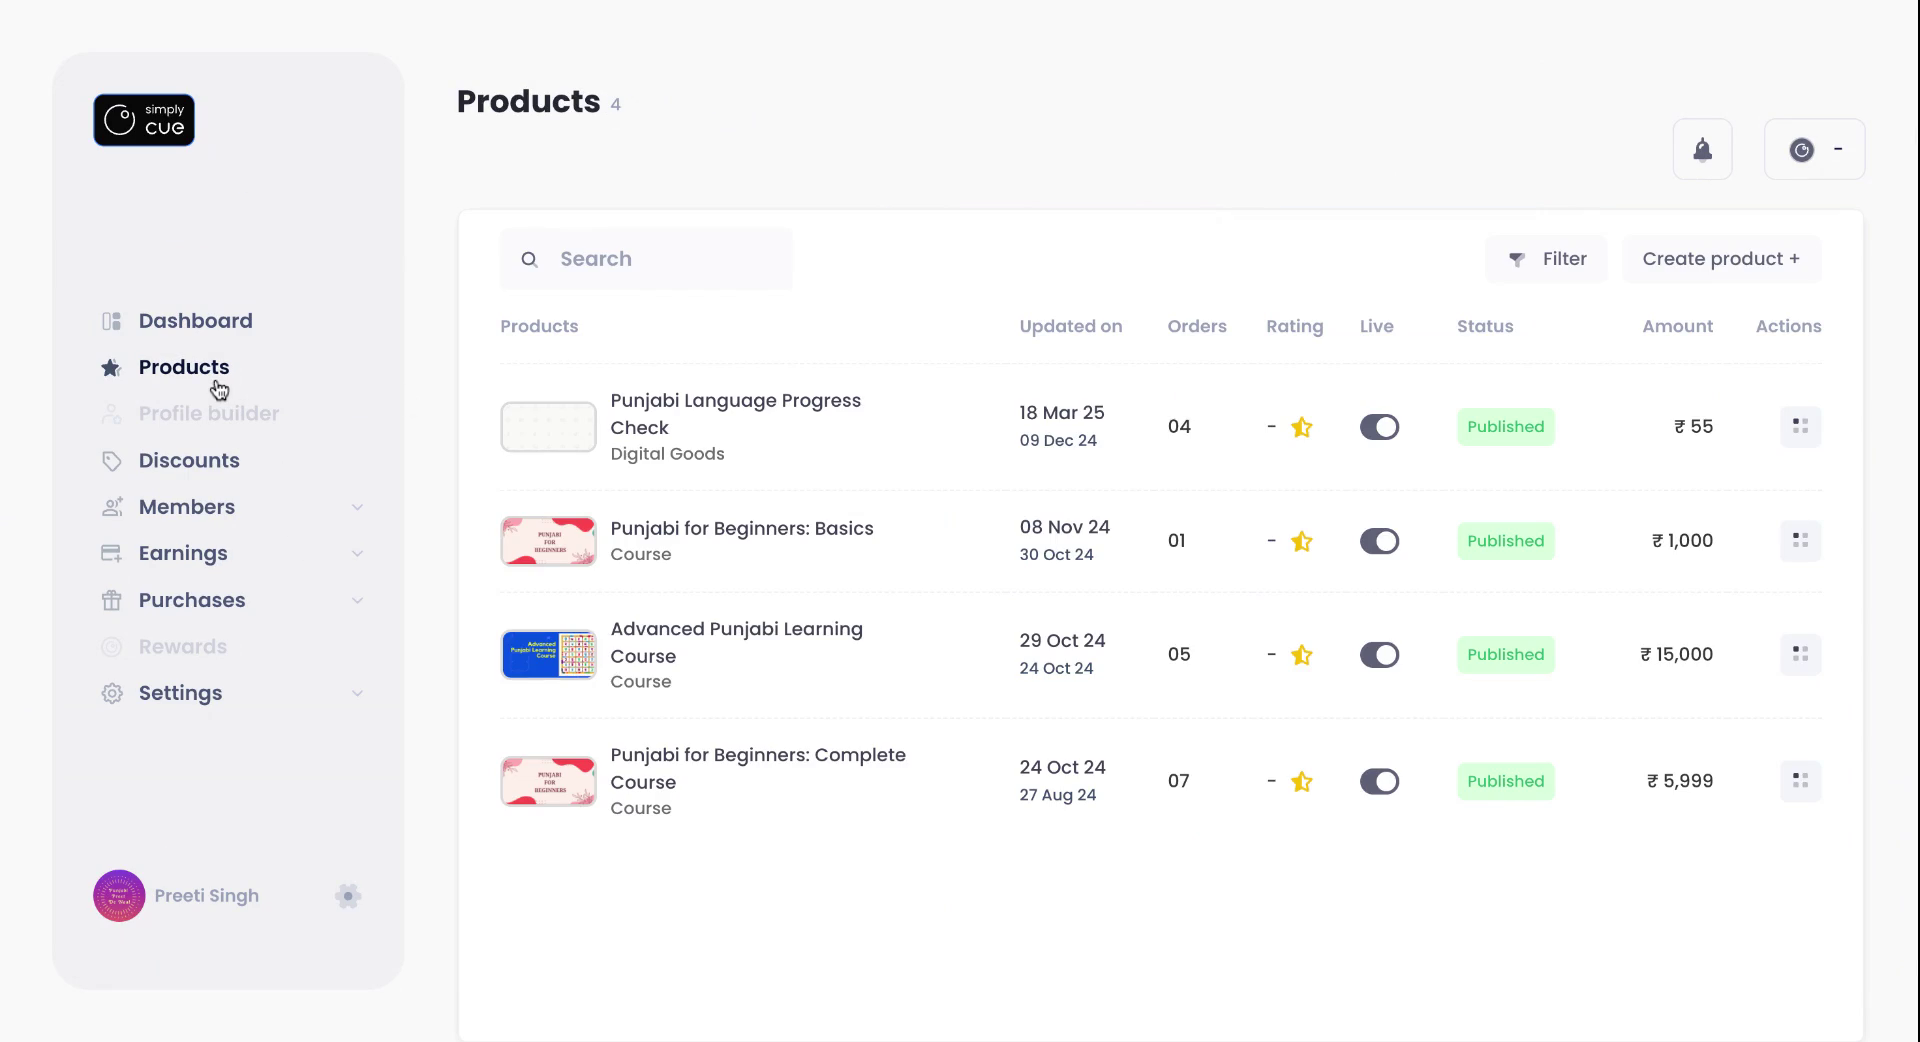
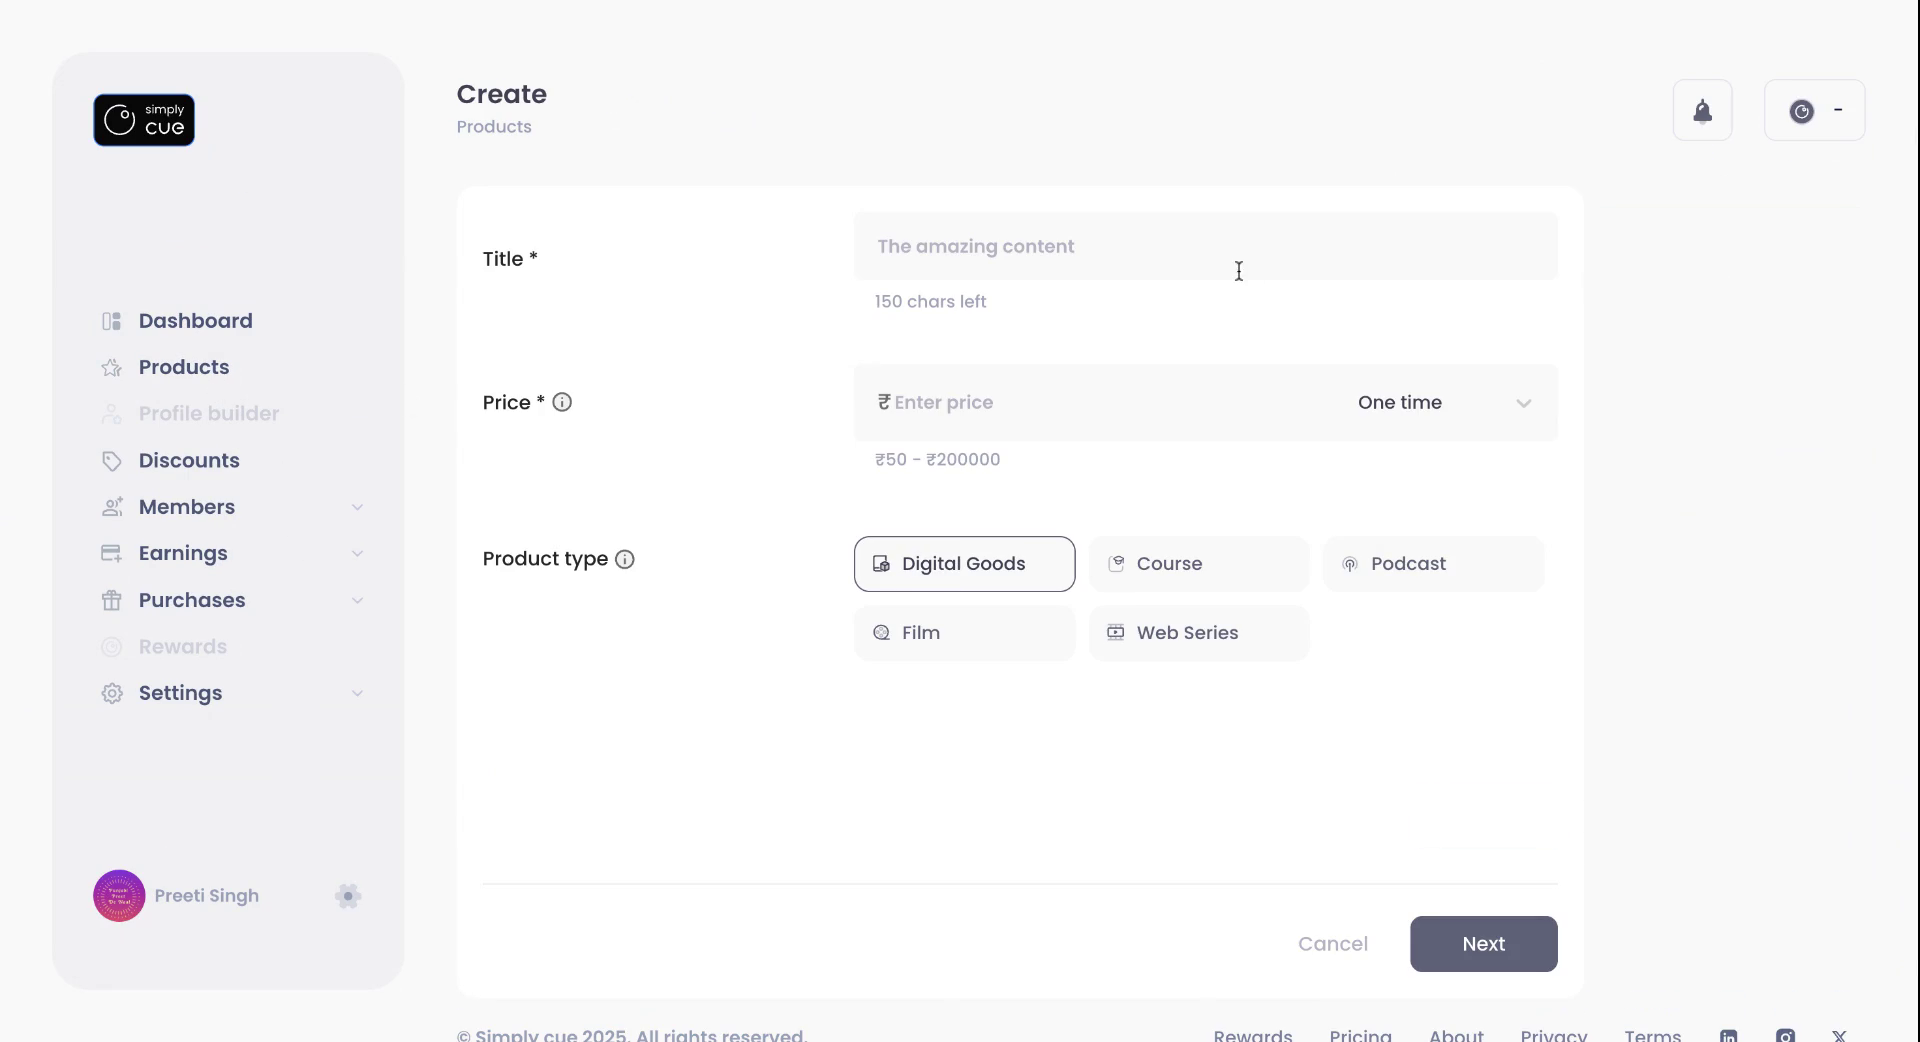
Step 3 : Create or Edit Products
Inside the Product section, choose to create a new product or edit an existing one by clicking on the relevant option. This allows you to update product titles, pricing, banners and more.
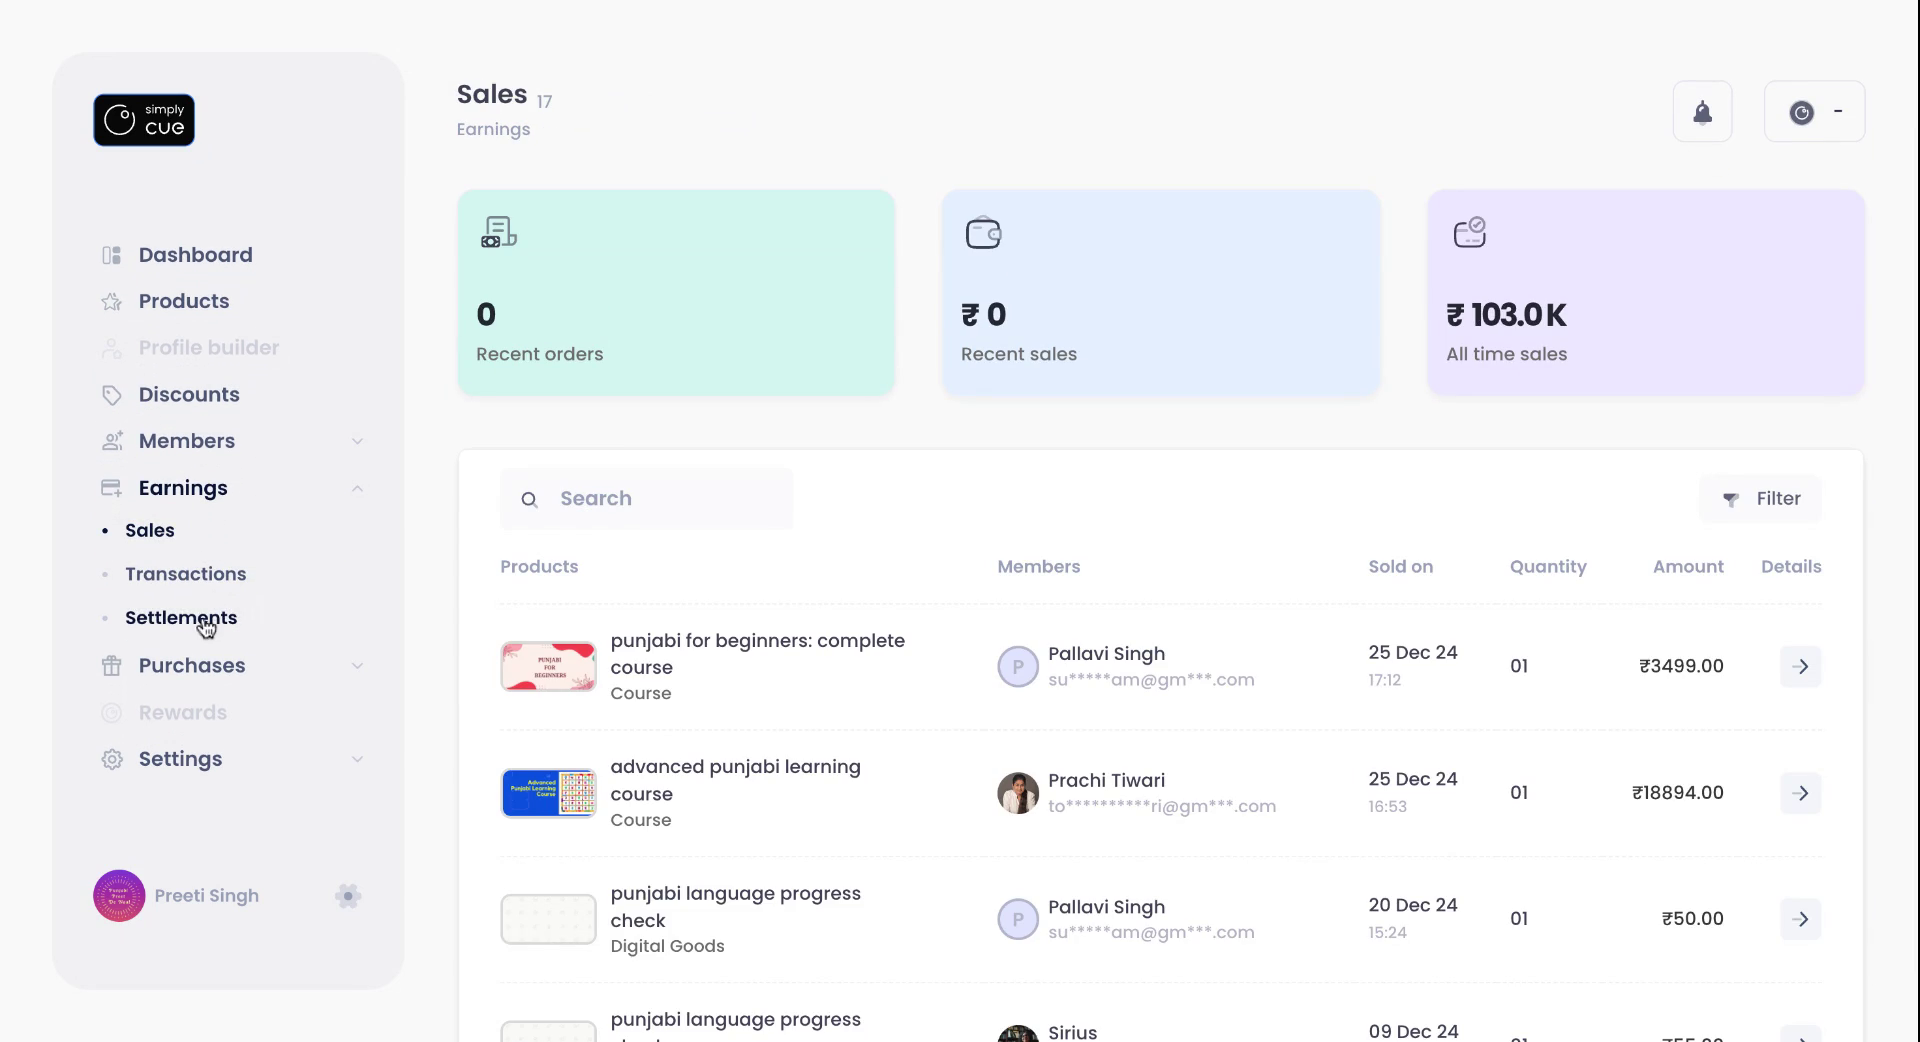
Step 4 : Track Your Earnings
To monitor how your digital business is performing, click on the Sales tab. This section provides a clear overview of your sales data, including product performance and revenue insights.
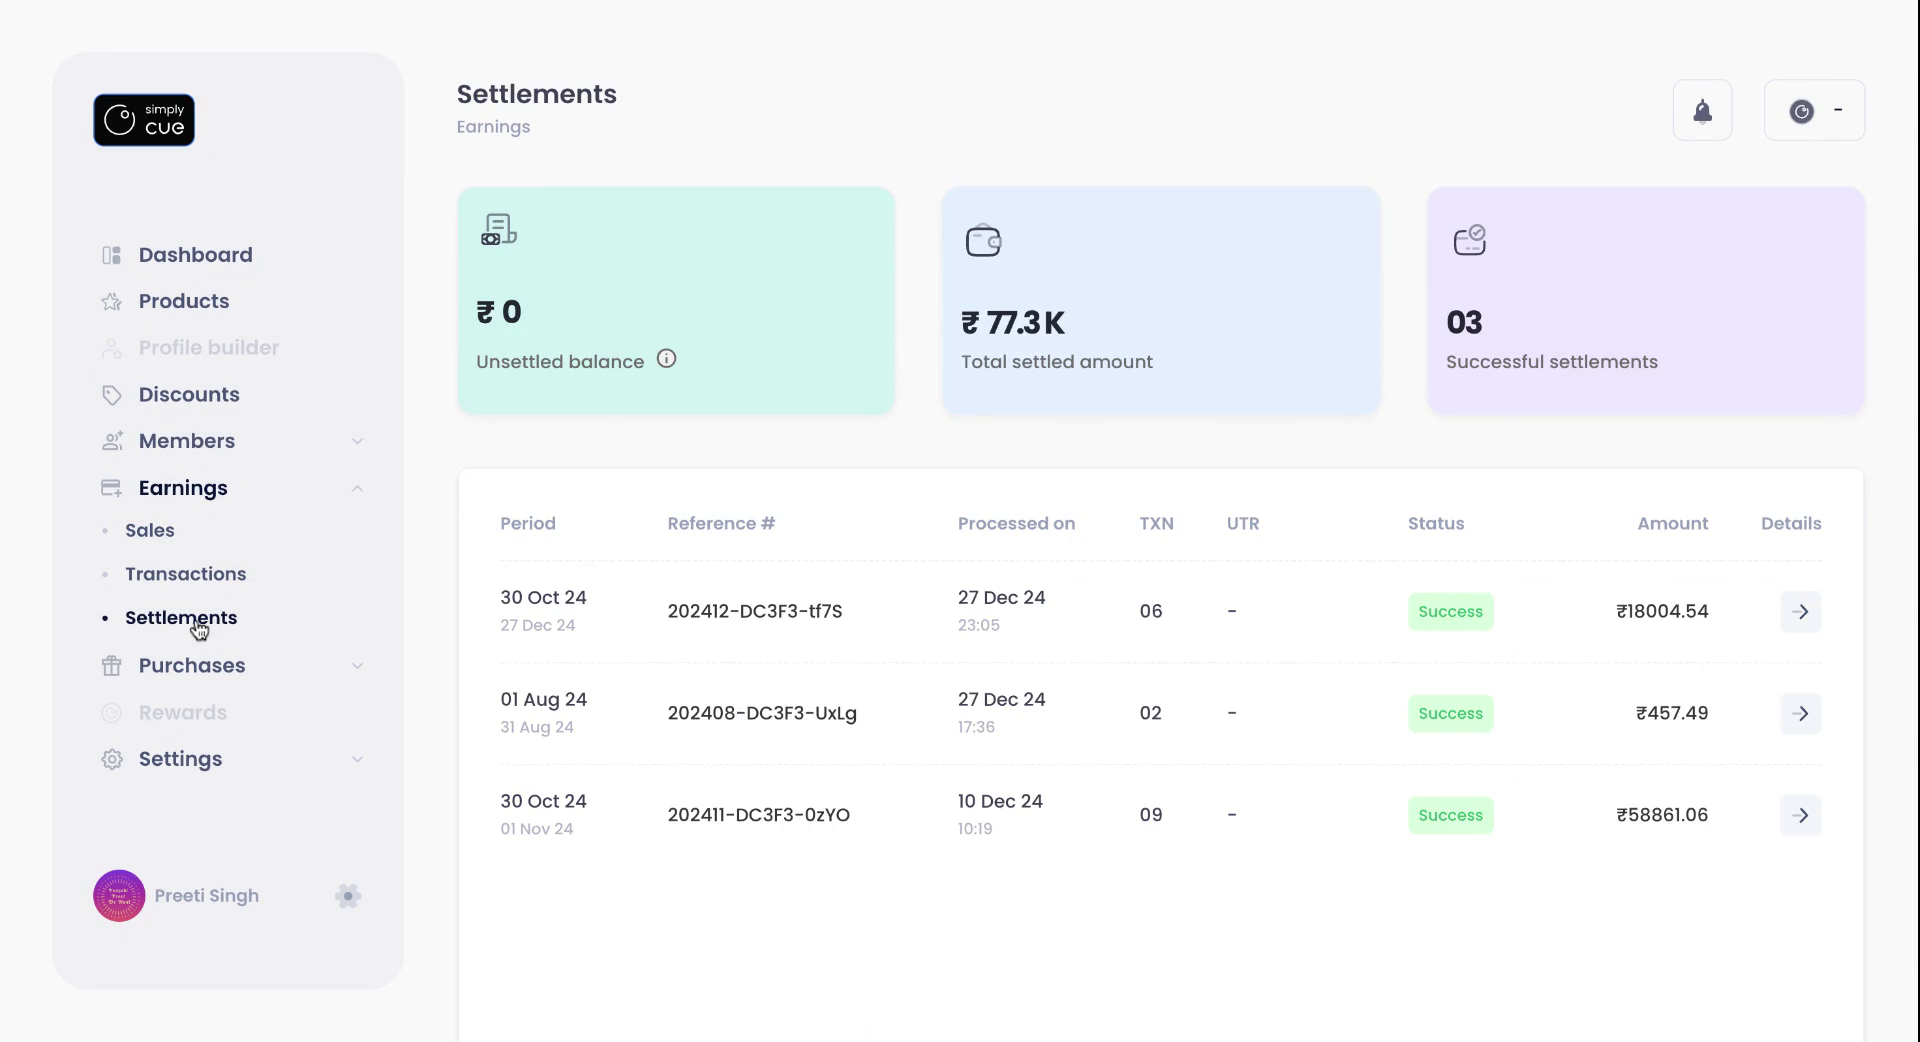
Step 5 : Review Settlements
Visit the Settlements tab to view a complete history of all financial transactions and payout settlements. This helps you keep track of when and how you are getting paid.
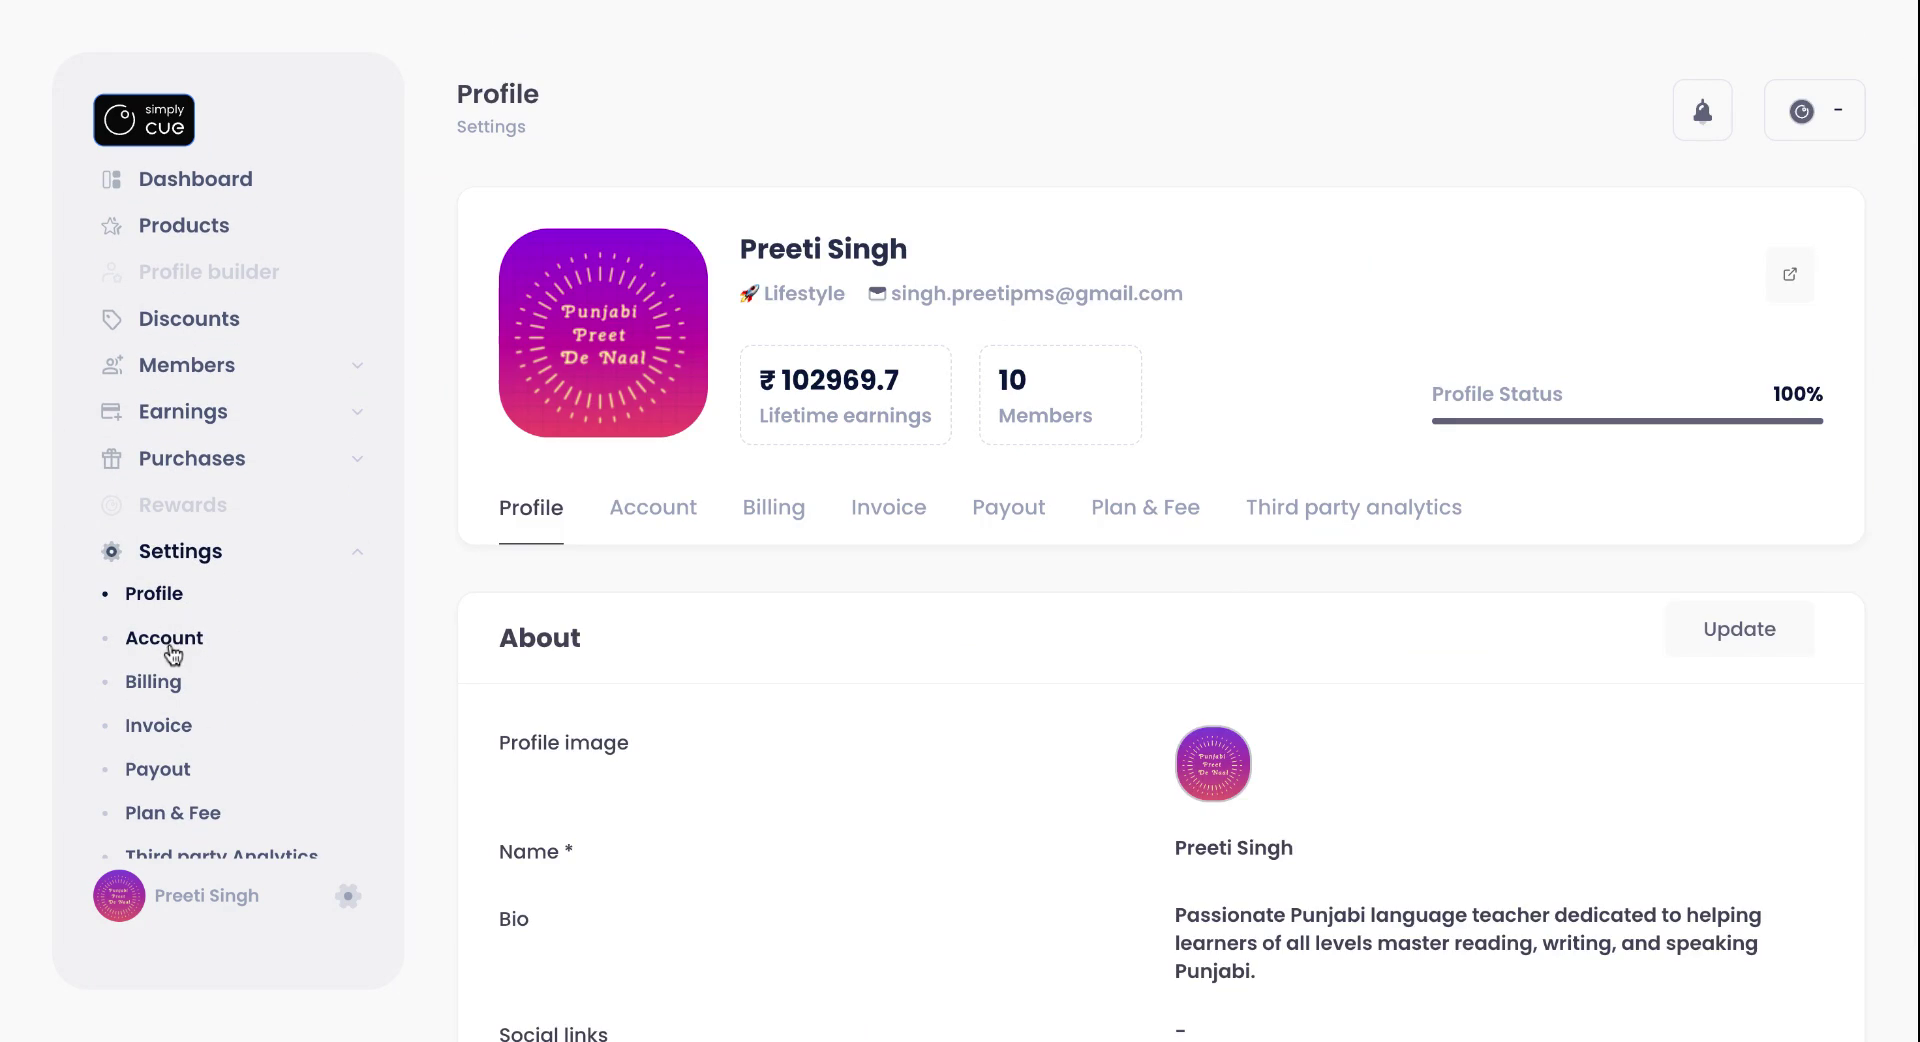
Step 6 : Manage Your Settings
Click on the Settings tab to personalize and control your Simply Cue account. Here, you can:
- Update your profile information
- Manage connected accounts
- Adjust billing and invoice preferences
- Set up or change your plan
- Decide who covers platform fees-you or your members.
Keep Your Account in Sync
Regularly updating and reviewing your settings ensures that your Simply Cue account remains optimized for growth, compliance,and ease of use.
Stay in control, create wonders with Simply Cue.


